
Machine learning in Clojure: Archaeologist, Pathologist, and Guru
Not long ago, I got a rare chance to apply Machine Learning at my daily job. For an internal prototype of a potential Beanstalk functionality, we needed a module that would — given a repository — provide us with a concise, knowledgeable description of its contents. Not just “45% PHP, 50% HTML” (e.g., linguist), but closer to “Rails 4.1 project using Rake, Grunt, Vagrant, and Capistrano”.
Having recently finished Clojure for Machine Learning, I had an itch to try to implement a machine learning system in Clojure, which is the Wildbit’s primary language for writing new services for Beanstalk. My basic premise was that an experienced programmer can infer a lot about the project only by looking at its directory structure. Thus, I concluded, if I could identify the right features, and — given enough examples — it should be possible to train an automatic classifier to do this job.
Dataset and feature format
Following the traditional Machine Learning workflow, I started with gathering a dataset of various source code repositories, primarily from the following sources:
- Bootstrapped project directories, generated by various frameworks (Rails, symfony2, Drupal, etc.)
- Open-source projects using various frameworks found on GitHub and BitBucket.
- Wildbit’s own internal projects.
At this point, I was faced with a challenge of finding the right representation of the directory tree in a tabular form expected by a typical Machine Learning algorithm. I attempted several feature formats:
- file paths:
['/app/model/user.rb'] -> ['/app/model/user.rb'] - bag of words:
['/app/model/user.rb'] -> ['app', 'model', 'user.rb'] - encoded “depth & filename” pairs:
['/app/model/user.rb'] -> ['2#user.rb']
In my testing, the naive format (#1) performed the worst, as it couldn’t adapt to certain kinds of variations in directory structures often exhibited by Django, Code Igniter, and many others. For example, a small Django project often looks like this:
├── appname
│   ├── __init__.py
│   ├── models.py
│   ├── tests.py
│   └── views.py
├── __init__.py
├── manage.py
├── settings
│   ├── default.py
│   ├── __init__.py
│   └── local.template.py
└── urls.py
It’s very common for Django projects to have one or more directory like appname in the example above, with files called __init__.py, models.py, views.py within. A classifier trained on features like ['appname_1/__init__.py', 'appname_2/__init__.py'] will treat these traits as distinct and won’t be able to generalize well. Thus, I turned to formats #2 and #3, of which the latter displayed the best performance on most of the attempted algorithms.
Selecting the best model
By combining all of the features extracted from example repositories, I built a matrix of long (thousands of elements each) feature vectors. Such sparse matrices are very common in Machine Learning models. To get a better picture of what it looks like, view the table below, where the two rows represent feature vectors for a Rails project and a Ruby gem. The omitted columns may contain any arbitrary filenames, few of which will have the value of 1 (indicating relevance to a given class label).
| # | 0#Gemfile | 0#gemspec.rb | 0#manage.py | … | Class label |
|---|---|---|---|---|---|
| 1 | 1 | 0 | 0 | … | Rails |
| 2 | 1 | 1 | 0 | … | Ruby gem |
As I wrote above, the plan was to build this system in Clojure. From the start I hoped to use Weka as: a) it’s likely the most mature Machine Learning package for Java; b) it comes with a handy GUI app that allows one to load a dataset and experiment with different algorithms without writing a single line of code.
For the first prototype, I simply extracted directory trees from example repositories via Clojure’s file-seq. I also applied some basic statistical post-processing to remove features exhibited by either too many or too few examples in the dataset to reduce the noise and the size of the resulting matrix. For the last step, I had to export my dataset to a format supported by Weka: ARFF, which you can think of as CSV with types. Unfortunately, I was unable to find a working exporter for Clojure, so I had to write my own.
Weka Explorer, while not winning any user-friendliness awards any time soon, is relatively easy to find your way around. The screenshot below demonstrates a confusion matrix on my testing dataset produced by Weka using a Naive Bayes classifier. Given the simplicity of my data model (just a bunch of boolean features), I didn’t have to use any complex post-processing. Moreover, Naive Bayes is actually the model I settled with for this project. Even though the name doesn’t sound as impressive as Random Forests, Logistic Regression, or Gradient Boosted Decision Trees (which are some other models I evaluated), it consistently produced great results, while remaining super fast to train and classify production examples.
Now that I had a working prototype of the classifier in Weka Explorer, it was time to begin the Clojure implementation.
Extracting data from Git and Subversion. Archaeologist
As this project wasn’t a purely academic exercise, I had to take care of any integration code required to run it at our production scale (Beanstalk is used by 70,000 companies from around the world). That meant the service would have to read both Subversion and bare Git repositories mounted via NFS without becoming a bottleneck. For this purpose, I created a Clojure library called archaeologist, which is now available under Eclipse Public License from GitHub. At a high level, I think of archaeologist as a tool that allows one to read the state of a versioned directory at a specific moment of time (referenced as Subversion revision, or a Git object hash). It relies on mature JGit and SvnKit Java packages for interacting with Subversion and Git repositories.
If you want to find out more about archaeologist, you can read my detailed post about it on the Beanstalk blog.
Implementing the classifier. Pathologist
I don’t remember whether naming the classifier module pathologist was initially just a morbid joke, but the name stuck, and it even (sort of) makes sense. This thing takes a “dead” repository and produces a conclusion by inspecting its internals. Not the worst name as far as internal project names go.
Pathologist talks to the Weka API via Clojure’s Java interop. The code to load a dataset, train a Naive Bayes classifier, and classify an instance is just three Clojure functions:
(defn ^Instances load-dataset
  "Loads a dataset from an ARFF file."
  [input]
  (with-open [stream (io/input-stream input)]
    (let [^Instances instances (ConverterUtils$DataSource/read stream)]
      (doto instances
        (.setClassIndex (dec (.numAttributes instances)))))))

(defn ^NaiveBayes build-classifier
  "Given a dataset returned by load-dataset, builds a classifier."
  [^Instances dataset]
  (let [attr-filter (doto (RemoveType.)
                      (.setOptions (into-array ["-T string"])))
        naive-bayes (NaiveBayes.)]
    (doto (FilteredClassifier.)
      (.setFilter attr-filter)
      (.setClassifier naive-bayes)
      (.buildClassifier dataset))))

(defn classify-instance
  "Performs a classification of a given instance."
  [^NaiveBayes classifier ^Instances training-dataset ^Instance instance]
  (let [classifier (Classifier/makeCopy classifier)
        dataset (doto (Instances. training-dataset 0)
                  (.add instance))
        result (int (.classifyInstance classifier (.firstInstance dataset)))]
    (.value (.attribute training-dataset (.classIndex training-dataset)) result)))
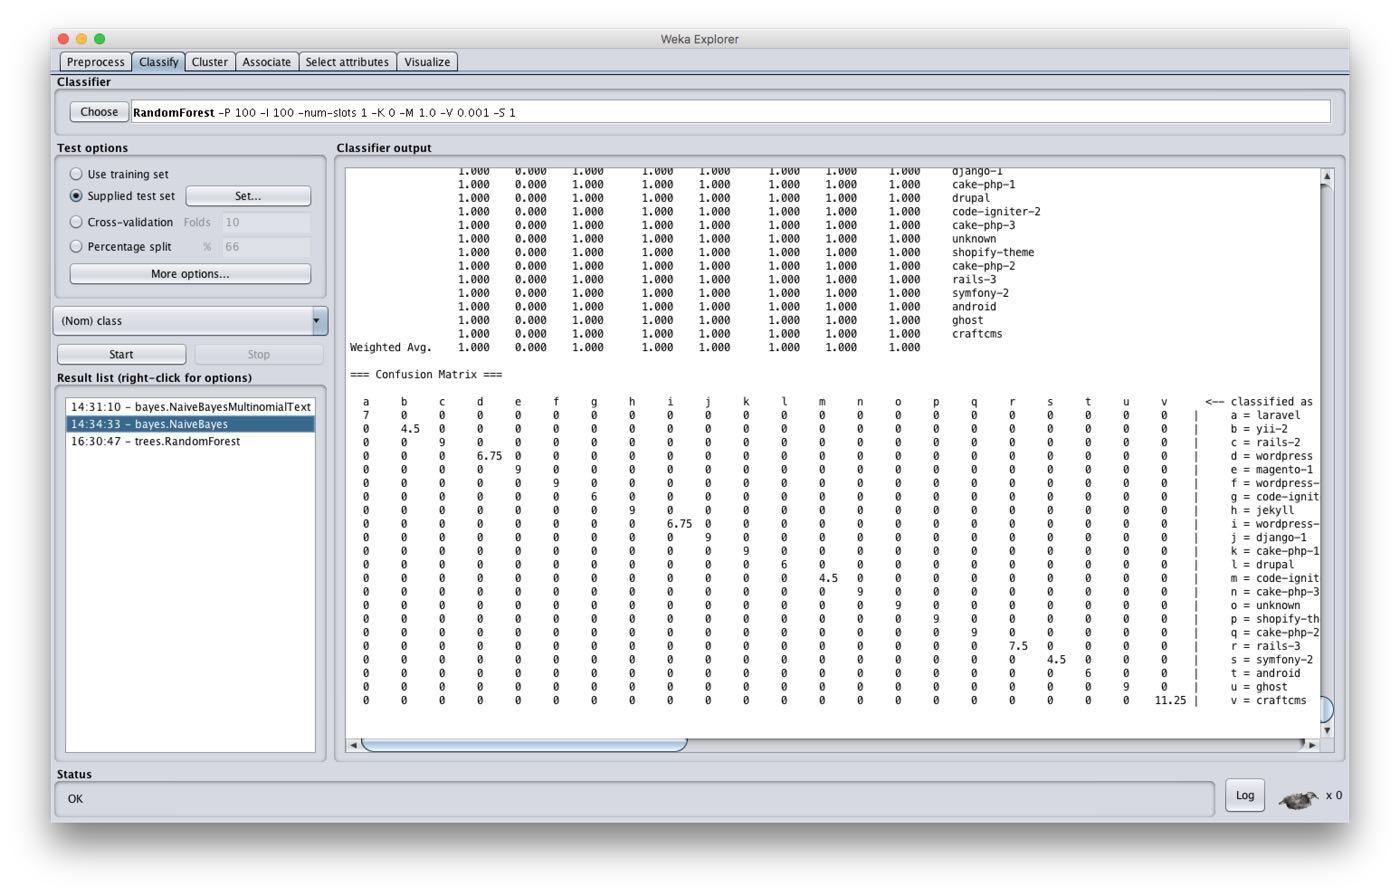
To make sure no regressions slip into the project with future updates, I integrated Weka’s evaluator with the project’s test suite. It was easy enough to do and, as a result, I get to see this cool confusion matrix with my test output:
lein test pathologist.classifier-test
# Confusion Matrix
  a     b     c     d     e     f     ...     <-- classified as
  7     0     0     0     0     0     ...    |     a = laravel
  0     4.5   0     0     0     0     ...    |     b = yii-2
  0     0     9     0     0     0     ...    |     c = rails-2
  0     0     0     6.75  0     0     ...    |     d = wordpress
  0     0     0     0     9     0     ...    |     e = magento-1
  0     0     0     0     0     9     ...    |     f = wordpress-theme
  ...

Correctly Classified Instances         169.75           100      %
Incorrectly Classified Instances         0                0      %
Kappa statistic                          1
Mean absolute error                      0
Root mean squared error                  0.0001
Relative absolute error                  0.0093 %
Root relative squared error              0.0605 %
Total Number of Instances              169.75
The hard part. Guru
When pathologist’s job is done, we get a predicted class label such as rails. Unfortunately, this only gets us half way towards the stated goal of “Rails 4.1 project using Rake, Grunt, Vagrant, and Capistrano”. Luckily, it’s straightforward enough to fill these blanks, and the module responsible for the task is called guru.
Guru is a collection of pre-programmed tests that run on a classified repository and produce the target description. It’s full of regular expressions, heuristics, and other tricks that only work half of the time, but — in common scenarios — it’s able to infer facts like the exact Drupal version used, the developer’s Ruby version preference, and many others.
Guru relies heavily on Clojure’s multimethods. Below you can see one that tests for particular feature presence (here it’s RSpec and artisan). The kind of dynamic dispatch enabled by multimethods allows for very declarative code, that’s easy to read, write, and test.
(defmulti test-feature (fn [feature _] feature))

(defmethod test-feature "rspec"
  [_ {fs :files :as result}]
  (for-projects result
    #{"rubygem-bundler" "rails-3" "rails-2"}
    (when-let [tests (seq (filter (partial apply rspec-test?) fs))]
      {:name "rspec"
       :kind "testing"
       :tests-count (count tests)})))

(defmethod test-feature "artisan"
  [_ {fs :files :as result}]
  (for-projects result
    #{"laravel" "unknown"}
    (when (contains? (set fs) ["file" "artisan"])
      {:name "artisan"})))

; ...
Compared to pathologist, this last module may seem cumbersome or even mundane, but such boring parts are exactly what differs production systems from academic prototypes. Yes, these tests are fragile, but they’re not too difficult to write. Moreover, since they’re just predicates dealing with archaeologist’s repositories, they can be covered with unit tests, simplifying the task of maintaining them.
The final test results are reduced by the labeler function, which uses a set of heuristics to produce the final project description. The end result is a Clojure map with machine-readable description of the project, which can be used to produce a human-readable, descriptive label. You can see a JSON representation of the system’s response below.
{
  "label": "Ruby on Rails",
  "framework": {
    "version": "4.1.16",
    "name": "Ruby on Rails",
    "class": "rails-3"
  },
  "runtime": {
    "language": "ruby",
    "engine": "cruby"
  },
  "version": "HEAD",
  "path": "/",
  "features": [
    {
      "name": "rspec",
      "kind": "testing",
      "tests-count": 212
    },
    {
      "name": "bundler"
    },
    {
      "name": "rake"
    },
    {
      "name": "capistrano"
    },
    {
      "name": "npm",
      "config-paths": [
        "package.json"
      ]
    },
    {
      "name": "gulp",
      "config-paths": [
        "gulpfile.js"
      ]
    },
    {
      "name": "vagrant",
      "config-paths": [
        "Vagrantfile"
      ]
    },
    {
      "name": "rackup",
      "config-paths": [
        "config.ru"
      ]
    }
  ],
  "languages": {
    "Twig": 5.714285850524902,
    "YAML": 1.3289036750793457,
    "Shell": 0.06644517928361893,
    "XML": 3.189368724822998,
    "Ruby": 58.00664520263672,
    "JavaScript": 3.521594762802124,
    "Markdown": 0.4651162922382355,
    "JSON": 1.594684362411499,
    "Cucumber": 0.06644517928361893,
    "Less": 0.06644517928361893,
    "Textile": 0.06644517928361893,
    "HTML+ERB": 18.870431900024414,
    "HTML": 3.853820562362671,
    "RDoc": 0.13289035856723785,
    "Sass": 3.056478500366211
  }
}
Recap
This was an incredibly fun project to work on, and I think we’ll be able to put it to good use at Beanstalk. Choosing Clojure allowed us — a small software company — to once again step onto the shoulders of giants and take advantage of the goods that the Java ecosystem has to offer; with less than a thousand lines of code.
Personally, I learned a lot and I’m also grateful for the chance to release archaeologist into open source. My hope is that eventually, the entirety of this project will become open-source, so everyone can learn from our experience and maybe even benefit from this work.